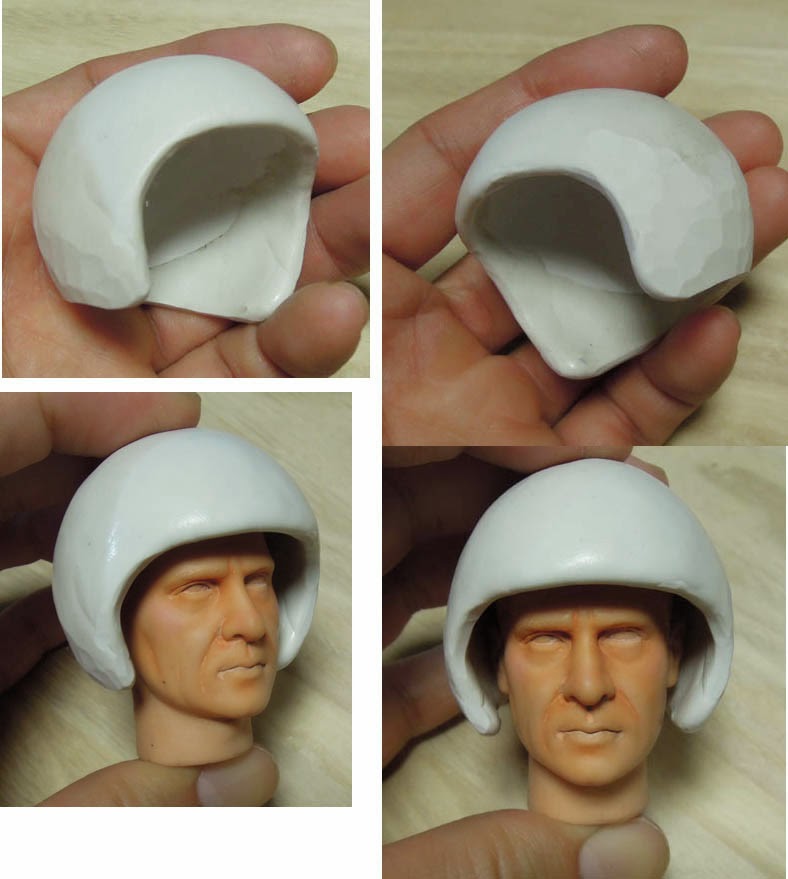
Custom 1/6 Vietnam War US tank helmet WIP
Here is my working in process of 1/6 scale Vietnam War US tank helmet, which one of my favorite subject in 1/6 that never seen in market, I was planning long time ago but I recently find the time to work on it. The prototype is using AB putty as material, inside the hemisphere is used failure of vacuum helmet as basic shape then cover with AB putty. 正在製作的1/6越戰美軍頭盔, 也是早先就想做的題材, 市面上也沒見過! 終於找到時間動手. 主要是以AB 補土為材料, 內襯是用真空成型壓出的失敗頭盔為形狀.
Start polished when AB putty dry, then add the thin edge! On the left I add a bit of AB putty as microphone position. 乾後的頭盔雛形用銼刀, 砂紙打磨! 再加上邊緣當作是橡膠保護圈, 左邊一小球是麥克風的位置.
Roughly make the shape then fix in detail with tools, add the needle pin head as rivet around the helmet. 麥克風雛型乾後用刀子+砂紙修出正確形狀, 頭盔中間的螺絲則以大頭針的頭打進並黏住.
Ready two flat sponge, one cut off the middle as donuts shape, then glue them together! Place on both side of headsculpt and slide into helmet is done. 準備兩片泡棉, 一個將中間切出圓形像甜甜圈的造型, 再將兩個黏在一起! 將兩個海綿套上耳朵, 塞進頭盔裡就行了!
Find the goggle see how it look! 找了個風鏡試戴!

The wire and copper wire ready for microphone, first I bend the metal wire as 8 shape, scissor a little piece of copper plate and wrap the end of metal wire. The copper wire needs to bend in curve shape then solder onto the middle of copper plate. This part really needs the metal without the doubt, It will taking me lots of time when mess production. 麥克風必須是金屬材質才會堅固, 鐵絲及銅線是主要素材; 把鐵絲折成8 字形, 在尾端用一小片銅片包住, 剪下的銅線折彎並用焊錫焊在尾端的銅片上.

This is the microphone looks.


Comments